Looking to mount your new 65-inch TV but worried about getting it right? Let’s cut through the confusion and get straight to what matters.
What You Really Need to Know First
Mounting a 65-inch TV requires careful planning and the right equipment. The key factors are weight capacity (most 65-inch TVs weigh 50-65 pounds), wall strength, and mount type selection. Your mount should support at least twice your TV’s weight for safety.
Weight Considerations That Actually Matter
Ever wondered why some mounts cost more than others? It’s all about build quality and weight capacity. Most 65-inch TVs need a mount rated for at least 100 pounds to handle dynamic movement when adjusting the screen.
Steel mounts offer better support than plastic ones. Look for dual-arm designs if you plan to extend the TV away from the wall frequently. Premium brands like Mount-It! and Sanus offer capacities up to 220 pounds for peace of mind.
Choosing the Right Mount Style
Three main mount types serve different needs:
Fixed Mounts: Think of fixed mounts as the basic, no-frills option that keeps your TV ultra-close to the wall. They’re perfect for eye-level mounting in spaces where you’ll always view from the same position. While they’re the most affordable and easiest to install, you can’t adjust the viewing angle once mounted.
Tilting Mounts: Tilting mounts add the ability to angle your screen up or down, typically 15-20 degrees, making them ideal for above-fireplace installations. They solve glare issues and help achieve better viewing angles when the TV sits higher on the wall. These mounts maintain a slim profile while offering more flexibility than fixed mounts.
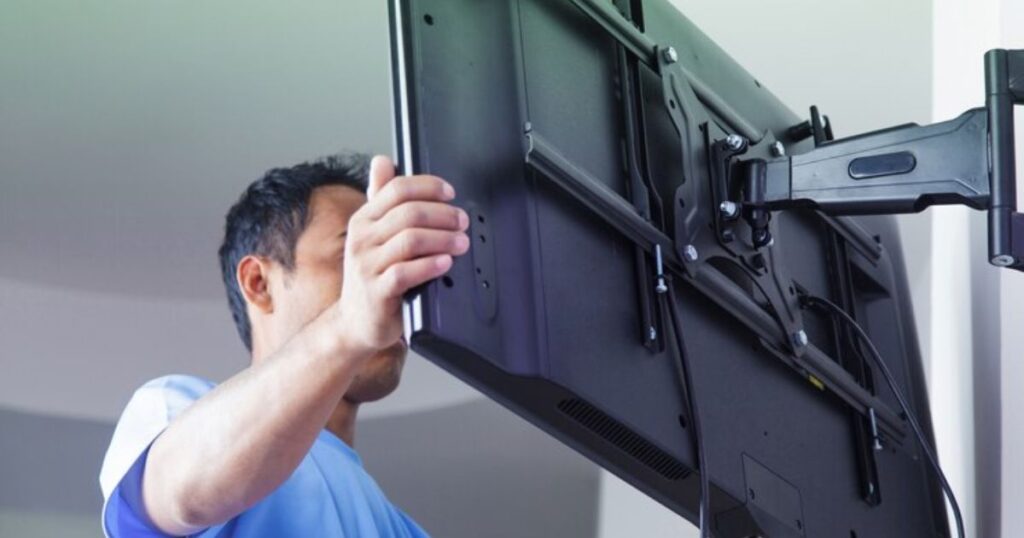
Articulating Arm Mounts: These are the Swiss Army knives of TV mounts, offering full motion with extension, swivel, and tilt capabilities. They can pull out from the wall (usually 15-24 inches), turn left or right (up to 180 degrees), and tilt up or down. Perfect for corner installations, rooms with multiple seating areas, or spaces where viewing angles need frequent adjustment.
Smart Design Choices for Your Space
Think about your room’s layout before choosing a mount. Low-profile mounts sit just 2-3 inches from the wall, perfect for clean installations. If you need flexibility, articulating arms extend 15-24 inches but look bulkier.
Consider cable management features. Some mounts include channels to hide HDMI and power cords, keeping your setup looking professional.
Installation Process

Ready to mount that TV? Let’s make this simple. You’ll want to take about an hour and definitely grab a friend to help – these 65-inch TVs aren’t exactly light. First thing’s first: clear your workspace and make sure you can easily reach your mounting spot. Being organized here saves headaches later.
Think of this like building LEGO – following each step carefully means you’ll only need to do this once. The key is working methodically: find those sturdy wall studs, mark your spots clearly, and double-check everything before you drill. Trust me, measure twice, drill once is more than just a saying when you’re hanging an expensive TV.
Recommended Supplies:
- Stud finder (get a good one – this is crucial)
- Power drill with various drill bits
- Level (magnetic levels are super helpful here)
- Socket wrench set or adjustable wrench
- Measuring tape
- Pencil for marking
- Screwdriver set (Phillips and flathead)
- Ladder or step stool that’s stable
- All mounting hardware that came with your kit
- Cable ties for cord management
- Helper (this isn’t optional – seriously)
- Safety glasses for drilling
- Drop cloth to catch dust and debris
Step-by-Step Installation Guide That Works
- Locate and mark wall studs using a quality stud finder, then verify marks with a small test drill to ensure you’ve found the stud center.
- Position your mounting bracket against the wall at your desired height, using a level to ensure it’s perfectly straight, and mark all hole locations.
- Double-check your measurements and marked spots, then drill pilot holes into the studs using the correct bit size for your lag bolts.
- Mount the wall plate to the wall using lag bolts, checking level again as you tighten each bolt progressively.
- Attach the mounting arms or brackets to your TV, ensuring you’re using the correct VESA pattern holes and hardware supplied with your mount.
- Connect any necessary cables to your TV before mounting, as access may be limited once it’s on the wall.
- With a helper, carefully lift the TV and align the mounting arms with the wall plate, ensuring all safety locks are engaged.
- Make final adjustments to the TV’s position, tighten all securing screws, organize cables through management channels, and test any tilt or articulation mechanisms.
Top 5 Best Rated Brands For 65″ TV Wall Mounts
Let’s talk about the brands that actually deliver what they promise. Mount-It! leads the pack with their heavy-duty builds that handle up to 220 pounds – way more than you’ll need, but that extra strength means rock-solid stability. Sanus follows close behind, known for their smooth-moving articulating arms that don’t get stiff over time. These two brands might cost a bit more, but they’re worth every penny for peace of mind.
Perlesmith and Mustang offer that sweet spot between quality and affordability. They’re perfect if you want reliable performance without breaking the bank. Their mounts typically handle up to 130 pounds and come with solid warranties. Rounding out the top five is Crimson, which brings some style to the game – their mounts look sleeker than most and offer some nice extra features like built-in bubble levels and cable management. Think of these brands as the ones your installer friend would recommend if you asked for honest advice.
| Brand | Max Weight | Price Range | Key Features |
| Mount-It! | 220 lb | $60 – $320 | Very sturdy; arms extend 24.” |
| Mustang | 130 lb | $70 – $170 | Effortless tilt; concealed cord channels |
| Arrowmounts | 132 lb | $55 – $245 | Electric lift with integrated outlets |
| Perlesmith | 130 lb | $90 – $160 | Simple tilt install; budget picks available |
| Crimson | 132 lb | $55 – $300 | Luxurious styles; height adjustable |
Common Problems and Solutions
Listen, even the best mounts can give you trouble if you don’t know what to watch for. Most folks run into issues like hitting metal studs instead of wood (you’ll need special anchors for that), or realizing their wall isn’t as flat as they thought. The trick is taking your time to plan before you drill. And those annoying cable management problems? Grab some cord covers or plan your cable routing before you mount – future you will be thankful.
Maintenance Tips That Matter
Think mounting is a one-and-done deal? Not quite. Every few months, give those bolts a quick check – they can loosen up over time, especially with articulating mounts. Wipe down moving parts occasionally, and listen for any weird sounds when adjusting your TV. Quick maintenance keeps your setup safe and smooth-moving for years. Takes just five minutes but saves hours of headaches later.
Smart Viewing Height Placement

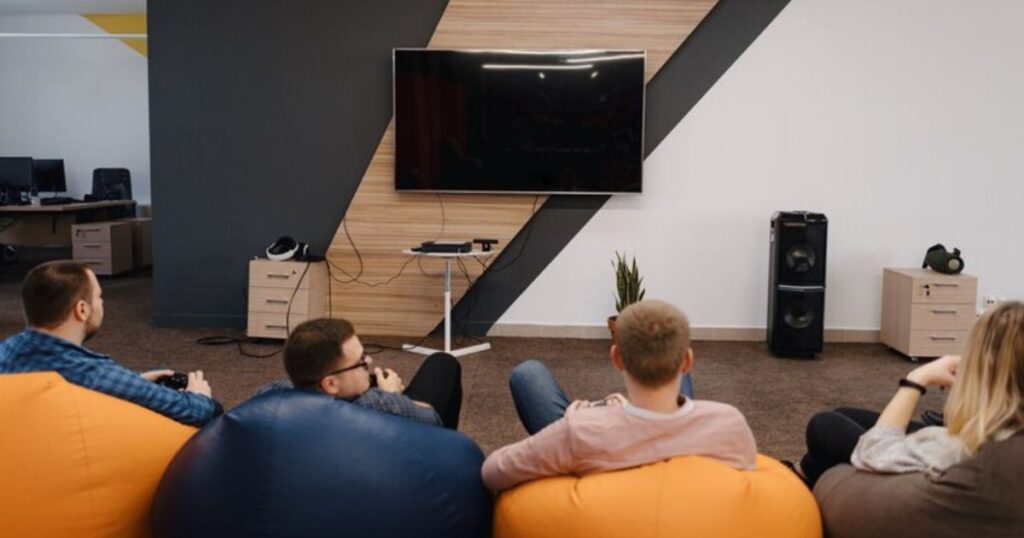
Nobody talks about this enough, but mounting height makes or breaks your viewing experience. The center of your screen should hit right at eye level when you’re seated – usually about 42-48 inches from the floor. Going above a fireplace? Tilt that screen down about 15 degrees to avoid neck strain. This simple detail makes movie nights way more comfortable.
You also Like:
TV Stand 50 Inch: The Ultimate Guide to Choosing the Perfect Support
Conclusion
Here’s what really matters when mounting your big TV.
First up, make sure your mount can handle twice your TV’s weight – most 65-inch TVs weigh around 50-65 pounds. Go for brands like Mount-It! or Sanus if you want peace of mind.
Fixed mounts are simple and cheap, tilting mounts are great above fireplaces, and articulating arms give you the most flexibility. Always mount into wall studs, grab a friend to help, and take your time with installation.
Need the best value pick? Perlesmith hits that sweet spot between quality and price. Just remember – this isn’t the place to cut corners. Your TV’s safety is worth the investment.
